How to Integrate Salesforce with QuickBooks Online?

Integrating Salesforce with QuickBooks Online can streamline your business processes by syncing financial data with customer relationship management (CRM) systems. This integration ensures seamless data flow between sales, billing, and accounting teams. In this blog, we’ll walk through the steps to set up this integration, common challenges, and solutions.
Why Do You Need QuickBooks Online Integration?
When you integrate Salesforce and QuickBooks Online, you eliminate the need for double data entry, reduce errors, and improve the efficiency of your operations. Here’s why you should consider this integration:
Unified Data: Automate the syncing of customer data, invoices, payments, and more.
Improved Efficiency: Save time by eliminating manual data entry between Salesforce and QuickBooks.
Accurate Financial Reports: Get real-time access to your financial information in QuickBooks Online directly from your Salesforce dashboard.
Steps for Salesforce and QuickBooks Online Integration
Integrating these two powerful tools may seem like a complex task, but with the right steps, it becomes easier. Here’s how you can integrate QuickBooks Online with Salesforce.
Step 1: Choose an Integration Tool
There are several third-party integration tools available that can help you connect Salesforce and QuickBooks Online. Here are a few popular options:
DBSync: A widely used integration platform that syncs data between Salesforce and QuickBooks.
Workato: A platform that helps automate data syncs between Salesforce and
QuickBooks.
Zapier: A user-friendly automation platform to connect Salesforce and QuickBooks Online with customizable workflows.
In this blog, “Zapier” will be used as the integration tool. Let’s see how to set it up and utilize it effectively!
Choose an integration tool that suits your needs and budget
Step 2: Install the Integration Tool
After selecting an integration tool, install it according to the instructions provided by the tool’s documentation.
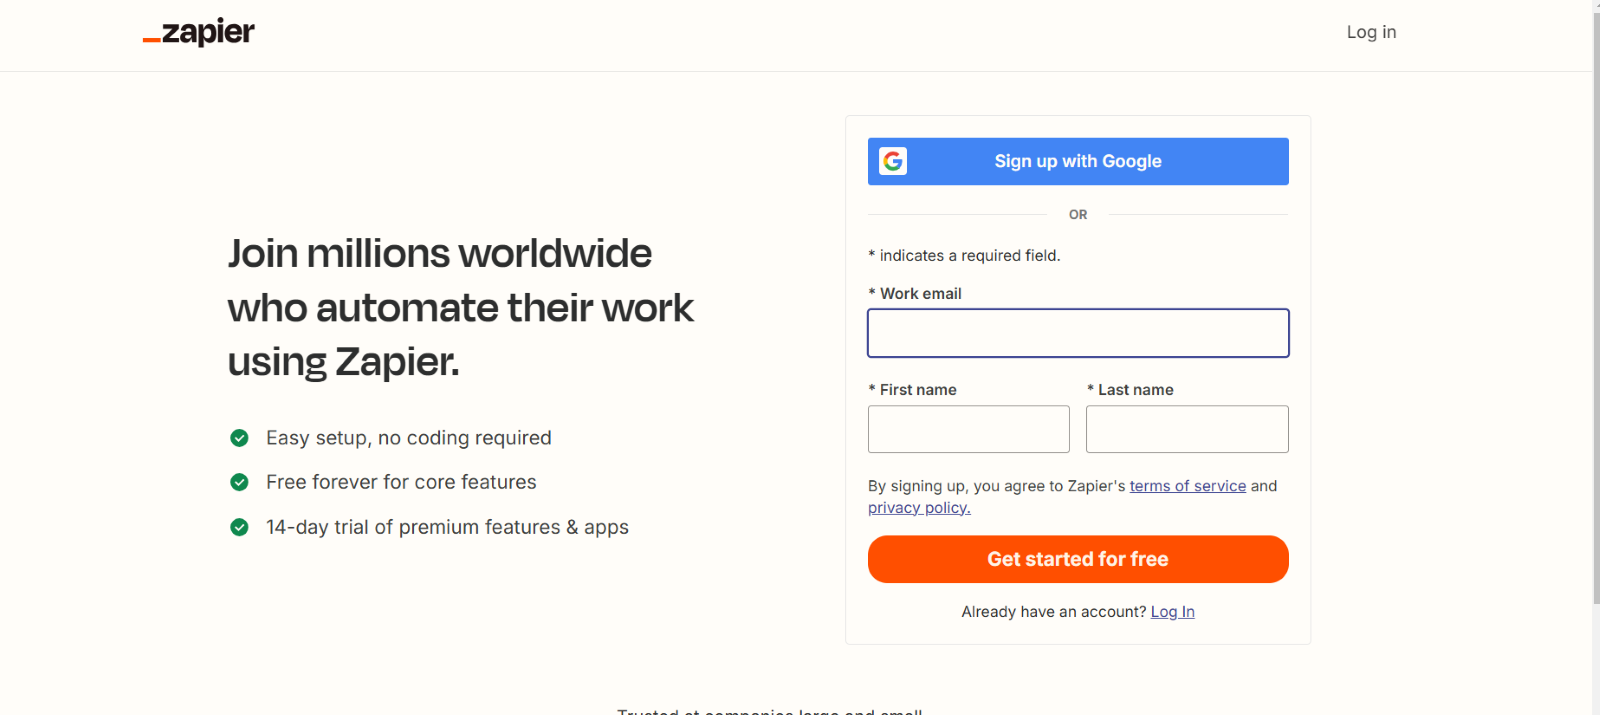
1. For Zapier : Sign up for a Zapier account at Zapier’s website.

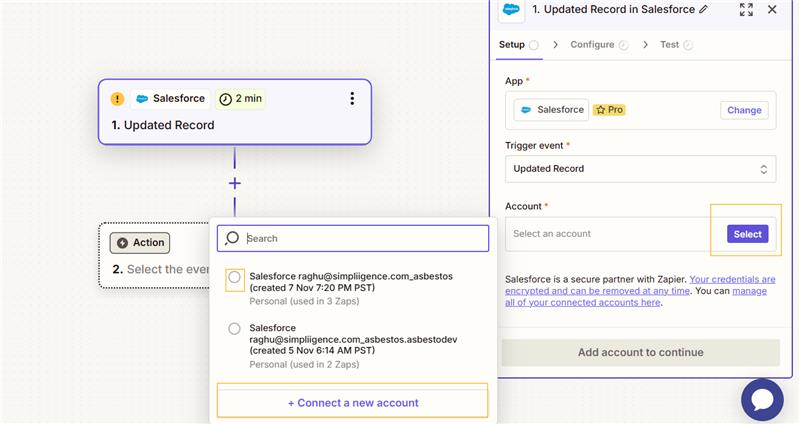
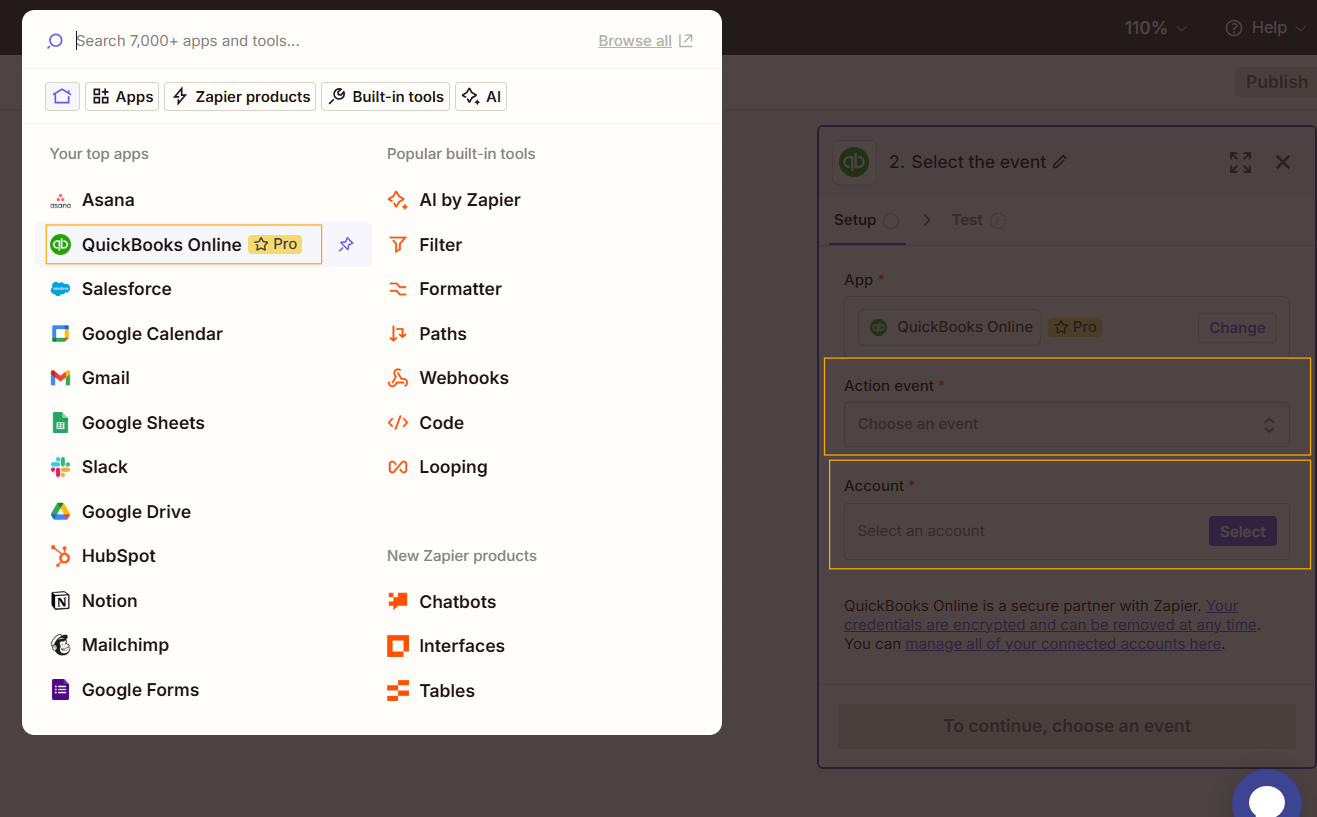
2. Set up a zap by selecting a trigger in salesforce and corresponding actions in quick books online

3. Search for Salesforce and QuickBooks Online integrations in the Zapier app directory.
4. Follow the provided step-by-step instructions to enable the integration.
Step 3: Connect Your Salesforce and QuickBooks Accounts
Once you have your integration tool installed, you need to connect your Salesforce and QuickBooks Online accounts to the integration tool:
1. Log in to Salesforce:
Open your Salesforce account and navigate to the “App Launcher” or “Integration Settings.”
2. Log in to QuickBooks Online:
Open your QuickBooks Online application.
Go to the “Edit” menu, select “Preferences,” and ensure that the application allows access via third-party tools or APIs.
3. Authorize Access:
In the integration tool, log in with your Salesforce and QuickBooks Online credentials once you select create Zap .


You will be prompted to allow the integration tool to access and sync data between the two platforms.
Step 4: Map Data Fields Between Salesforce and QuickBooks
Mapping data fields is crucial for ensuring the correct transfer of information between Salesforce and QuickBooks Online. This step defines how the data should be synchronized between the two systems:
Customer Data: Ensure that fields like customer name, email, and contact details in Salesforce are linked to the corresponding fields in QuickBooks.
Invoices and Payments: Map the fields for invoices, payments, and credit notes between both platforms.
Opportunities and Accounts: Sync your Salesforce opportunities, accounts, and other relevant sales data with QuickBooks.
Each integration tool will provide a user-friendly interface to map these fields.
Step 5: Set Syncing Preferences
Configure how often and what type of data should be synced. Here are some options to consider:
Real-Time Sync: Every time an update occurs in Salesforce or QuickBooks, it will be reflected immediately.
Scheduled Sync: Set a specific time (e.g., daily or weekly) for data synchronization.
Make sure to choose a syncing frequency that fits your business needs.
Step 6: Test the Integration
After setting up the integration, it’s crucial to test the sync process to ensure everything is working correctly:
1. Perform Test Sync:
- Create a test invoice or customer record in Salesforce.
- Check if the data is accurately transferred to QuickBooks Online. 2. Check for Errors:
- If there are any errors, review the field mappings and sync settings to ensure they are correct.
Look for any discrepancies or missing data between the two platforms.
Step 7: Monitor and Troubleshoot
Once the integration is up and running, continue to monitor it regularly to ensure the data flows smoothly between Salesforce and QuickBooks Online:
- Check Sync Status: Keep an eye on any failed sync attempts. Most integration tools will provide a log or status page to track sync history.
- Address Errors Quickly: If data isn’t syncing correctly, troubleshoot the issue by checking field mappings, credentials, or API settings.
Regular monitoring ensures that any issues are addressed quickly and that both systems remain synchronized.
Common Issues and Troubleshooting Tips
Issue 1: Data Sync Errors
Solution: Double-check field mappings and ensure that both Salesforce and QuickBooks are connected to the integration tool with the correct credentials.
Issue 2: Slow Syncing
Solution: Try syncing fewer records at once or check your network connection to ensure a smooth sync.
Issue 3: Authorization Issues
Solution: Confirm that your API access is enabled for both Salesforce and QuickBooks and that you’re logged into both platforms correctly.
Why choose us?
By following these simple steps, you can integrate Salesforce with QuickBooks Online, leading to improved efficiency, reduced data entry errors, and better business insights. Proper configuration, mapping, and regular maintenance will ensure the integration continues to benefit your business in the long run.
Are you ready to simplify your workflow by integrating Salesforce with QuickBooks Online?
Connect with us Today and enhance your business operations!
